Automations
The Automations page in GetSphere allows you to take instant action on your data, streamlining your workflow and saving time. By setting up automations, you can automatically trigger notifications, sync data with external tools, and initiate workflows based on specific events or conditions. Below is a detailed guide to the features available on the Automations page.
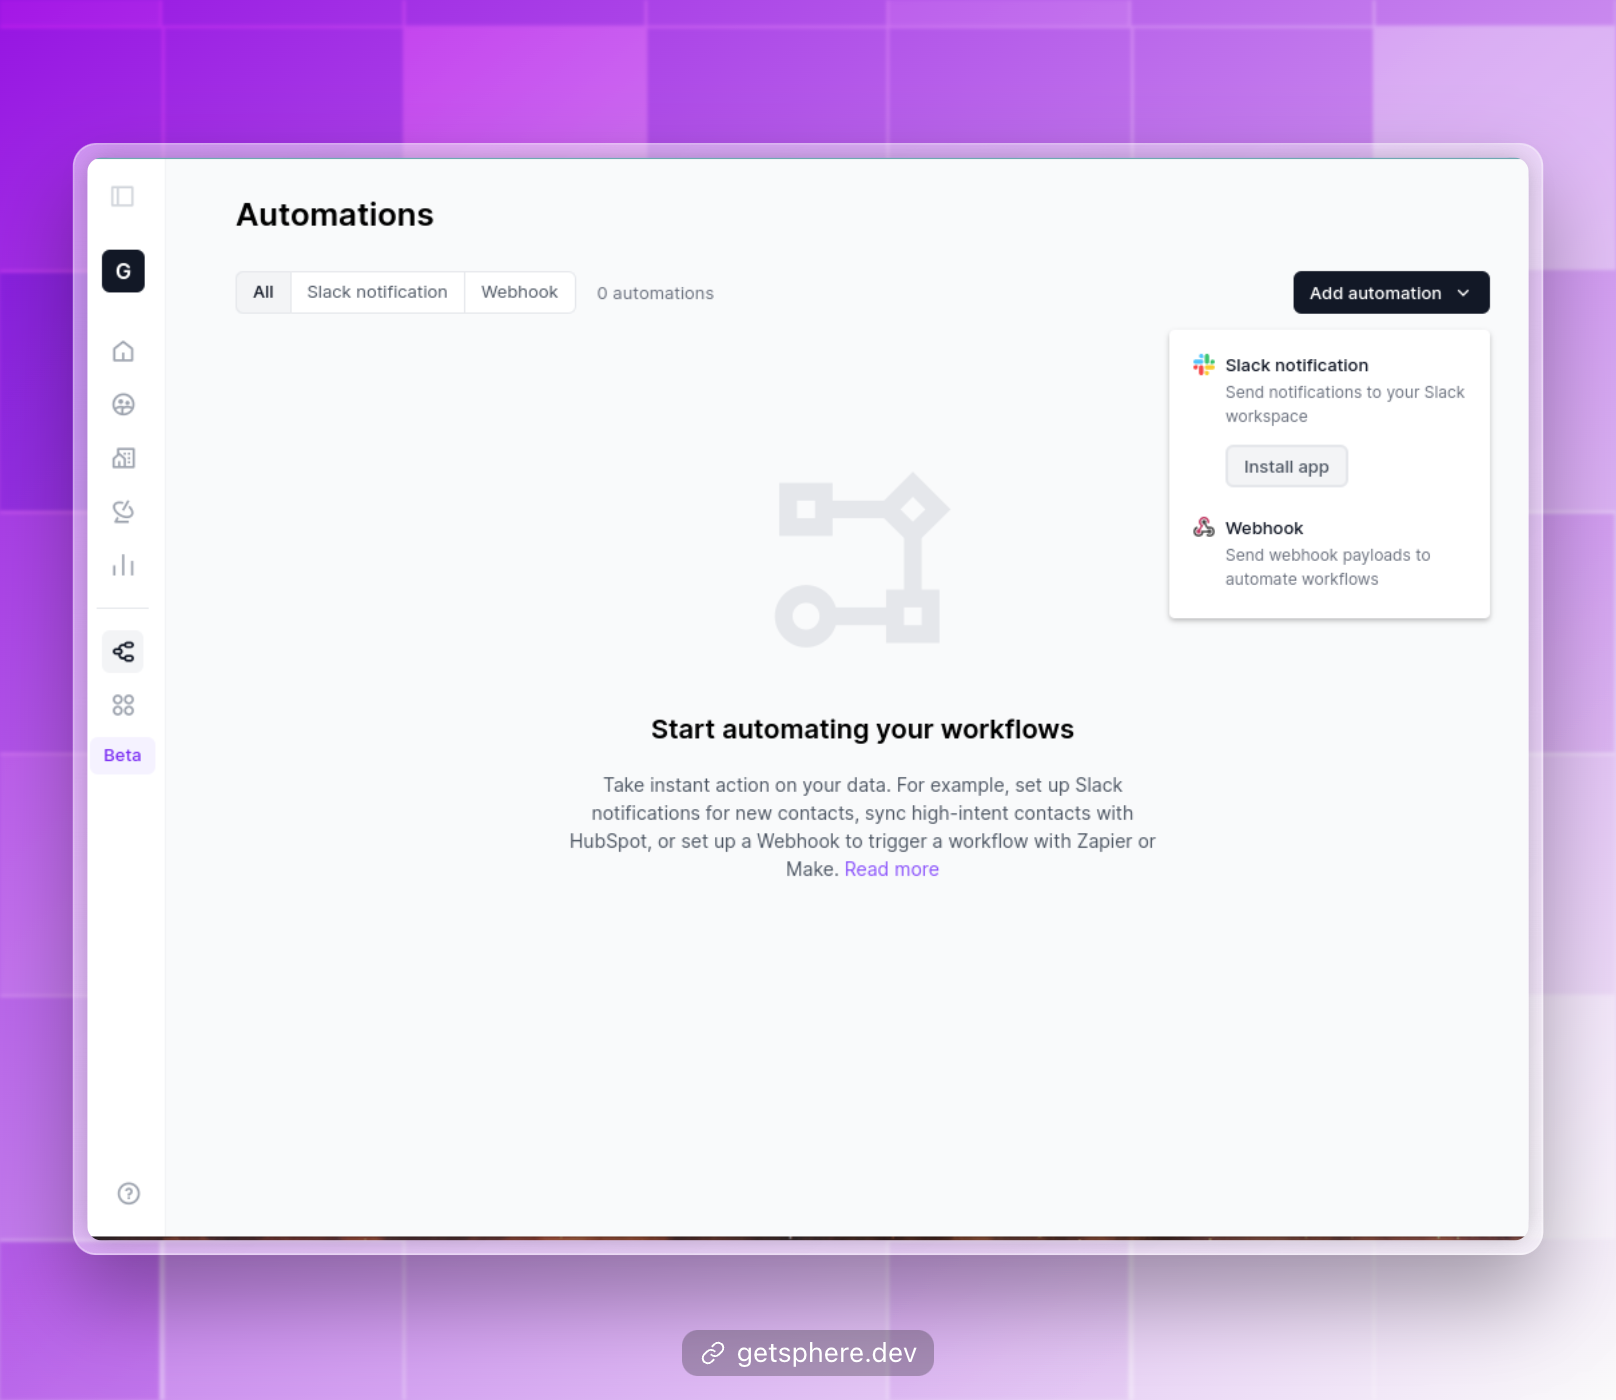
Automation Types
Slack Notifications
Stay up-to-date with your community’s growth and engagement by setting up Slack notifications for new contacts.
- New Contact Alerts: Receive instant notifications in a designated Slack channel whenever a new contact is added to your community.
- Customizable Messages: Tailor your Slack notifications to include relevant information about each new contact, such as their name, organization, and engagement level.
HubSpot Sync
Seamlessly sync high-intent contacts with HubSpot to nurture leads and drive conversions.
- Automatic Contact Syncing: Define criteria for high-intent contacts, such as engagement level or activity type, and automatically sync them with your HubSpot account.
- Bidirectional Data Sync: Keep your contact data up-to-date in both GetSphere and HubSpot, ensuring consistency across your marketing and community-building efforts.
Webhook Triggers
Integrate GetSphere with your favorite workflow automation tools, such as Zapier or Make, using webhooks.
- Custom Events: Define custom events, such as a contact reaching a certain engagement threshold or a specific activity type being recorded, to trigger webhooks.
- Flexible Integration: Connect GetSphere with a wide range of tools and services through Zapier or Make, enabling you to automate complex workflows and streamline your processes.
Setting Up Automations
Step 1: Choose an Automation Type
Select the type of automation you want to create, such as Slack notifications, HubSpot sync, or webhook triggers.
Step 2: Define Triggers and Conditions
Specify the events or conditions that will trigger your automation, such as new contact creation or specific engagement criteria.
Step 3: Configure Actions
Set up the actions that will be performed when your automation is triggered, such as sending a Slack notification or syncing data with HubSpot.
Step 4: Test and Activate
Test your automation to ensure it’s working as expected, then activate it to start taking instant action on your data.
By leveraging the Automations page in GetSphere, you can save time, improve efficiency, and ensure that your community-building efforts are seamlessly integrated with your existing tools and workflows.